Batch Update Tool
Features
The tool that likely needs no explanation. Every Encompass Admin inevitably needs to batch update certain properties of a loan. Like when your users just somehow forgot that HMDA was a requirement and not a recommendation. 😑
Once you do need it (which is probably pretty often) the Community Plugin has got you covered!
With the Community Plugin Batch Update tool you can:
- Re-use your existing Encompass Reports for Batch Updates :metal:
- Import a batch file from CSV, XLS, or XLSX 📁
- Target updates to changes only (skips unchanged properties) 👌
- Modify the value of an entire batch column directly in the Batch Update tool using the Update Columns Feature 🙌
Setup
- In Encompass
- Click on the Settings Menu
- Expand the Community Menu
- Click on PluginManagement

- Select BatchTool as the Plugin from the dropdown
- The access you configure here will affect what users have access to the Batch Update tool.
caution
It probably goes without saying but you likely want to limit access to this tool to Super Admins and Adminstrators and maybe a select other few.
Usage
- Users that have been provided access will need to logout and back in to Encompass in order for changes to be effective
- In Encompass
- Click on the Settings Menu
- Select the Community Menu
- Click on BatchTool:
- The paths for the Batch Tool divulge here so please continue on to the different options below...
Re-use your existing Encompass Reports for Batch Updates
info
The first column of your report must include either the Loan GUID or the Loan Number (field [364]). If it does not, you will get an error when attempting this process.
- Once you've pulled up the Reports tab in Encompass, go ahead and locate and select a report that you want to function as your base (looking forward, you might have reports that you create specifically for use with this tool to use on an ongoing basis)
- Now you can follow steps 3-5 above in the Usage section to launch the BatchTool after having the report you want to pull in to the BatchUpdate tool.
- Once the BatchTool has launched, click on the Use Selected Report button:
- This will pull in the rows and columns from the report you selected in order to use as the base for the BatchUpdate tool:

- In this example, you see that only one row has been pulled in to the BatchUpdate tool. This is because the filter for this report has limited it to pull in only one loan. Whatever filter you have set, and whatever fields you have set, this is what the tool will pull in at this stage.
- When you batch update loans, you are intending to make a change. As a result, the report that is pulled in, represents data in its current state. If you were to run the batch at this point in that case, nothing would change. Thus the next step, is making a change.
- You can change the current values for each loan (row) by double click on any column in any row and typing in a new value.
- Additionally, you can update the value for an entire column by clicking on the column header and typing in a new value here:

- Next, make sure to click on the Update Column Values button to apply the changes to be made:

- The values in that column should automatically update to the value you set in step #8.
- You can now click on the Run Batch button to update the loans listed to reflect the new value listed in the column you updated:

- Upon clicking the Run Batch button, you will immediately see feedback on the results of the batch with the background color either green or red to indicate a success or failure.
Import a batch file from CSV, XLS, or XLSX
- In Encompass
- Click on the Settings Menu
- Select the Community Menu
- Click on BatchTool:
- Click on the Import Batch File button:
- A file selection dialog will be presented
- Select the file you'd like to use for your batch import
caution
If the first column of your file is not either the Loan GUID or the Loan Number (field [364]), you will get errors when attempting this process.
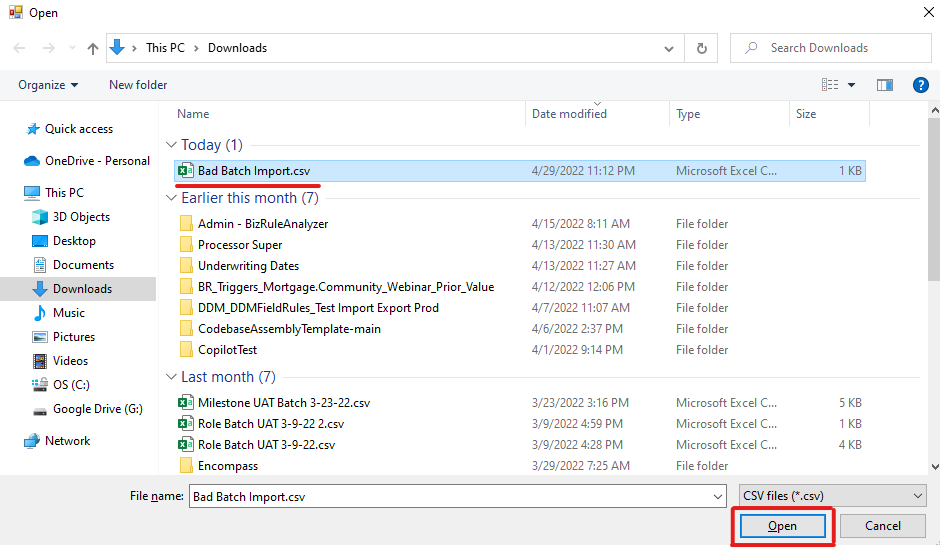
- Select your file and click on the Open button:

- You can now click on the Run Batch button to update the loans listed:

- Upon clicking the Run Batch button, you will immediately see feedback on the results of the batch with the background color either green or red to indicate a success or failure.
Update Changed Only Option
- When you launch the BatchUpdate tool, you will see a checkbox labeled "Update Changed Only"
- Clicking this checkbox will toggle the option to only update loans that have changed values
- With this option selected, if you have not updated the values for a given loan (row), that loan will be skipped when processing the batch.
- With this option selected, loans that do not have any updates will not have the background color change to either green or red as that will be the indicator for whether a loan was processed:

Error - The first field of your report must be Loan Number or GUID
- If the first column of your import file/report is not either the Loan GUID or the Loan Number (field [364]), you will get errors when attempting this process.
- The error will display like the following:
- The batch will fail and cease to continue processing
- You will need to fix this error by ensuring the first column of your import file/report is either a Loan GUID or the Loan Number (field [364]).